
Reviewed · STIRLING CASTLE DAY TRIPS
Braveheart (Battle of Stirling Bridge) Tour
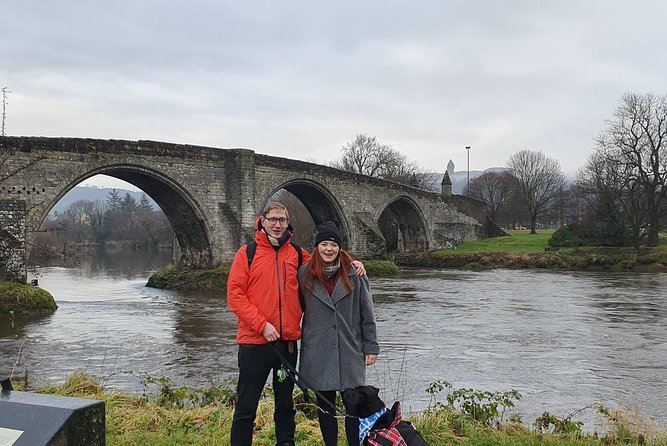
The Battle of Stirling Bridge is one of those Scottish history moments that feels famous on paper, but much more real once you’re standing in the landscape where it happened. This small-group walking tour lets you follow the story around Stirling Bridge, from the early leadership of William Wallace and Andrew De Moray to the end of the battle and its lasting impact.
Two things I especially like are the cap of just 15 travelers and the way the guide uses real, local detail to explain where the old wooden bridge was and why it mattered. One possible drawback is that it is short (about 1 hour to 1 hour 15 minutes) and focused, so it is not for you if you want lots of time wandering freely on your own.
Key things to know before you go
- Max 15 travelers keeps the pace conversational, with time for questions
- Meet right by Stirling Old Bridge at Laurencecroft Road area, so it is easy to fit into a day
- Wallace and Andrew De Moray are front and center, with the human story behind the battle
- Where the wooden bridge collapsed is a big part of the tour, even though nothing exact is left to see
- A Braveheart reality check comes built in, correcting popular film myths
- Weather-dependent outdoor tour means you should plan for cold or wet conditions
Stirling Bridge and Wallace: why this fight still matters
If you’ve watched or read about Scotland’s Wars of Independence, you’ve probably heard the headline: William Wallace and company pulled off a major win at Stirling Bridge in 1297. What this tour does well is turn that headline into geography and cause-and-effect.
You do not just learn that a battle happened. You get the sense of why Stirling mattered in the first place: it sits at a choke point, and bridges are not just scenery in a medieval power struggle, they are strategy. From there, the story shifts to the people. William Wallace and Andrew De Moray are not treated like textbook names. The tour frames them as leaders whose early choices pushed them into the vanguard of Scottish history.
There’s also a friendly bit of humor baked into the experience. You’ll hear a joke about Andy Murray and why that name gets attention, then the tour pulls you back to the real 1297 “guardians” theme. It’s light, but the goal is serious: get you oriented in the history fast.
More Stirling Castle day trips:
- Stirling Old Town Daily Walking Tour (11am & 2pm)
★ 5.0 · 279 reviews - Stirling: Daily Guided Walking Tour (11am & 2pm)
★ 4.7 · 66 reviews - Bannockburn Battlefield Tour
★ 5.0 · 36 reviews
Small-group pacing: what max 15 travelers really changes
For a tour that lasts about 1 hour to 1 hour 15 minutes, group size is not a minor detail. It’s the difference between a lecture and a real conversation.
With a maximum of 15 travelers, you can expect:
- A calmer pace while you listen and look around
- More chance to ask questions without feeling rushed
- Better group alignment, since the meeting point is specific and the route is short
I also like that the tour is built around being outside, near the River Forth. That means you get to stand where the story unfolded, not just read a sign and move on. One review-style detail that lines up with the overall vibe is that there is not a ton of walking, but you will likely be standing for a while. Bring that in your planning, especially if you prefer constant motion.
Where the tour starts and how to arrive without stress
The meeting point is Stirling Old Bridge, River Forth, Stirling FK8 1AQ, UK, and the tour ends back at the same spot.
That matters more than you’d think. Stirling can be confusing if you bounce between old streets and viewpoints. Starting right by Stirling Old Bridge keeps the day simple: you show up, you get oriented in minutes, and you finish near where you started.
It is also near public transportation, which is helpful if you’re doing Stirling as a stop on a wider Scotland route. And because the experience supports service animals, it is easier to plan for travelers who need that flexibility.
Stop 1, Stirling Bridge: walking in the footsteps of Wallace and De Moray
This is the whole tour, so Stop 1 deserves your attention.
You meet up by Stirling Bridge and the guide brings the battle to life using the terrain. The tour centers on:
- William Wallace and Andrew De Moray, including how their leadership evolved during the push for independence
- The 1297 battle itself, with an emphasis on how the bridge influenced the outcome
- The final arc of the story, including the deaths and what the legacy meant afterward
One of the most practical and interesting parts is the focus on the original wooden bridge. There’s no “stand right here and see it exactly” moment, since the exact structure is gone. But the guide points out where it was located and explains what happened, including where it collapsed during the battle.
That is where the tour feels more than just storytelling. You get a sense of how medieval “infrastructure” worked. Bridges are bottlenecks, and in battle they can flip an entire plan in minutes.
A different sort of day out from Stirling:
- Stirling Old Town Private Walking Tour
★ 5.0 · 24 reviews - Stirling Castle: Skip-the-Line Guided Tour in Spanish
★ 4.8 · 19 reviews - 3 Hour Private Tour of Stirling Old Town and Stirling Castle
★ 5.0 · 17 reviews - Stirling: Private Old Town & Castle Walking Tour
★ 4.9 · 17 reviews
Expect visuals and big-picture orientation
In the way the guides teach this story, you’ll likely get help from a tablet showing details of the original wooden bridge. One guide (mentioned as David in a review) even built a model in his yard for clarity, and another key point from that same guidance is that even when only fragments survive today, you can still reconstruct the action using careful local interpretation.
A small warning, not a dealbreaker: because the bridge is not physically preserved in the way people hope, you have to trust the explanation and accept that you are seeing the present landscape through a historian’s lens.
Beyond the movie: the Braveheart reality check you’ll want
If you’re coming in with Braveheart in your head, this tour is designed to help you sort fact from popular myth.
The guide specifically leans into correcting misunderstandings tied to the film. You can expect a steady emphasis on the “real history” version of what happened, including alternate ideas about locations of the old bridge and how new information can change how we picture the battle.
That matters for you because it changes the feel of the experience. Instead of passively absorbing a single storyline, you get context for why details may be debated and how historians try to place events accurately on the ground. It’s more interesting than a one-track script, and it also makes you a better reader of Scottish history as you move on to other sites.
Timing, pacing, and what to wear for a 1 hour 15 minute history walk
The tour runs about 1 hour to 1 hour 15 minutes, so it’s a good “slot in” activity. It’s not a full morning commitment, and it also does not demand a long travel buffer.
But it is still an outdoor experience. Stirling Bridge is by the River Forth, and weather can shift quickly. The tour is weather-dependent, and if it’s canceled due to poor conditions, you’ll be offered another date or a full refund.
What I recommend you do:
- Dress for wind and damp, even if the forecast looks mild
- Wear shoes that handle uneven ground around the river
- Bring a rain layer, not just an umbrella
Also, since there is not a lot of walking, you can take comfort in that if you have limited mobility, but you should still be ready to stand at viewpoints for stretches.
Value for money: $34.45 for a short, high-impact experience
At $34.45 per person, this tour is priced like a focused heritage walk, not a big-ticket attraction.
To judge value, look at what you are paying for:
- A small group (max 15) for better engagement
- A guide who connects the battle story to the exact Stirling Bridge area
- A strong emphasis on the old wooden bridge location and collapse point
- Correction of film myths, so you leave with cleaner facts
The tour also notes admission as free for the core part of the experience. That means your money goes mostly to interpretation and guiding, not entry fees.
For me, the best value signal is that it is short and concentrated. You can learn a lot in under 90 minutes without spending your whole day on one site.
Pairing it with Bannockburn: how to build a smart Stirling battle day
If you’re the type who likes to do the independence sites back-to-back, Stirling is set up for it.
A common approach is pairing Stirling Bridge with Bannockburn on the same day. The logic is simple: both are core events of the independence story, and the guides tend to frame them in the same broader narrative. Doing them close together helps you make connections between leadership, momentum, and how victories changed what people believed was possible.
Practical advice:
- Book both early enough that you can manage weather
- Keep your afternoon flexible, in case one tour runs long
- Build in time for a quick meal after, since you’ll likely be standing, listening, and thinking
Who this tour suits best (and who should skip it)
This works best if you:
- Like Scottish history and want it tied to real places
- Want a short tour that gives structure and explanation without a long day
- Appreciate a guide who corrects common myths, especially movie-inspired ideas
- Prefer small-group tours where your questions matter
You might skip it if you:
- Want a long hike or a lot of free time at multiple locations
- Expect “hands-on” museum style exhibits, since the experience is mainly outdoors and viewpoint-based
- Need long walking segments for your own pacing, since the route is limited and standing is a bigger part than walking
Should you book the Braveheart (Battle of Stirling Bridge) Tour?
Yes, if you want a high-value, short lesson in how the Battle of Stirling Bridge fits into Scotland’s fight for independence, and you want the story told with a careful focus on the bridge location that is otherwise hard to visualize today.
My call is simple: book it if you enjoy walking near history and getting the real-world version of familiar stories. The combination of small-group size, a strong focus on Wallace and Andrew De Moray, and the Braveheart myth correction makes it a tour that pays off fast. If weather is bad, plan to be flexible, but the refund or reschedule option helps you stay calm.
FAQ
How long is the Braveheart (Battle of Stirling Bridge) Tour?
It typically lasts about 1 hour to 1 hour 15 minutes.
Where does the tour meet?
The tour meets at Stirling Old Bridge, River Forth, Stirling FK8 1AQ, UK.
How big is the group?
The tour caps at a maximum of 15 travelers.
What language is the tour offered in?
The tour is offered in English.
Is the admission included?
The tour information lists an admission ticket as free for the main stop.
What happens if the weather is poor?
The experience requires good weather. If it is canceled due to poor weather, you’ll be offered a different date or a full refund.
Recently reviewed around Stirling
- Stirling Run Tour★ 5.0 · 7 reviews
- From Edinburgh: Braveheart and Stirlingshire Day Trip★ 5.0 · 8 reviews
- 3 Hour Private Tour of Stirling Old Town and Stirling Castle★ 5.0 · 17 reviews
- Stirling Old Town Private Walking Tour★ 5.0 · 24 reviews
- Stirling Castle and the Secrets of the Old Town Private Tour★ 5.0 · 6 reviews
- Private Tour of the Highlands, Glencoe and Castles from Stirling★ 5.0 · 7 reviews
- Private Stirling Old Town Tour★ 5.0 · 8 reviews
- Bannockburn Battlefield Tour★ 5.0 · 36 reviews
Stirling Castle Day Trips, side by side.

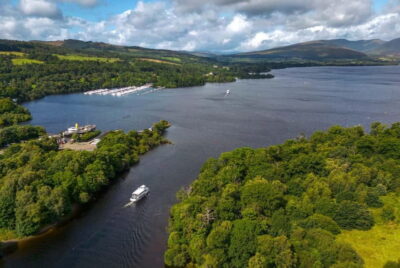
Loch Lomond, Kelpies & Stirling Castle Tour Including Admission
Read our review →
Loch Lomond, Stirling Castle and the Kelpies Day Tour
Read our review →
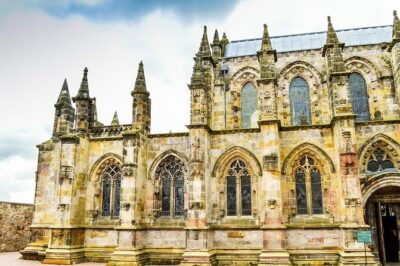
Rosslyn Chapel, Dunfermline Abbey and Stirling Castle Day Tour
Read our review →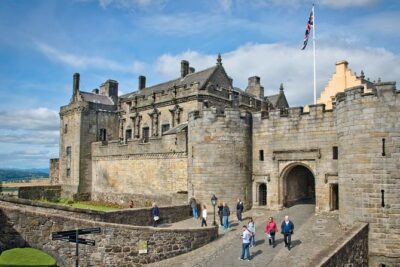
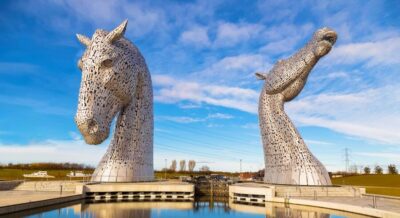
Loch Lomond, Stirling Castle, & Kelpies Tour from Edinburgh
Read our review →Lists this tour turns up in